IVR Campaign
An IVR-based campaign refers to a marketing or communication initiative that utilizes Interactive Voice Response (IVR) technology to interact with customers. IVR is an automated telephony system that allows callers to interact with pre-recorded voice prompts or touch-tone keypad entries.
Creating IVR-Based Campaign
To create an IVR campaign:
- Go to the Campaigns page.
- Click Create Campaign.
- Select Outbound Campaign.
- Choose Campaign Type: IVR.
- Complete the required fields as outlined below.
Basic Settings
| Field | Description |
|---|---|
| Campaign Name (required) | Name of the IVR campaign. |
| Campaign Type (required) | Set as IVR |
| Sub Admin Assigned | Sub-admins who can access and manage this campaign. |
| DID (required) | Telephony number mapped to the campaign. |
| IVR Flow (required) | Select the IVR flow to be triggered for this campaign. |
| Max Concurrent Calls (required) | Maximum number of simultaneous calls allowed for the campaign. |
| Fallback DID | Backup number used in case of primary DID failure. Optional but recommended. |
General Information
| Field | Description |
|---|---|
| URL to Push | URL to which call or callback details are pushed. |
| Hit ScreenPop URI at |
|
| ScreenPopURL | URL provided by the CRM vendor to display customer data as an iframe on the agent interface. |
| Call Prefix | Prefix (e.g., +91, 0) added before dialling the number. |
| Disposition Type (required) | Defines how call outcomes are captured: None, API, or Toolbar. |
| Dispositions (required) | List of dispositions agents can select (if agents are involved in the IVR flow). |
| Wrapup Time (In seconds) | Time (in seconds) available to the agent post-call to complete ACW. Use 0 for unlimited ACW time. |
| No. of Tries (required) | Maximum number of attempts allowed per customer number. |
| ACW for UnAnswered Calls | If enabled, agents will be sent to After Call Work even if the call was not answered. Default is disabled. By default, this box is unchecked. |
| Block Number | This is specific to a campaign. Tells whether to consider the blocked call list or not. |
| Block Number Group | Name of the blocked numbers group that is created. |
| RunTime (required) | Run time of the campaign. |
| Priority (required) | This is the priority of the campaign. Useful when a particular agent is involved in multiple campaigns. |
| Dial Interval | Time interval gap at which the next record is dialed. |
| Customer Ringing Time (required) | Ringing time of the call to the customer. |
| Mapping Name (required) | This field is used to add the header file from your Excel sheet. Click "New” to add a new Header or use an existing Header. This sheet contains only Headers/Column Names. "PhoneNumber” is mandatory. Column A and rows 1-4 are only to be used. |
| Upload File | Upload the file along with the header File. Upload file should be in Excel format only Valid phone number formats: 04030566823, 914030566825, 91 40 30566820 040 3056 6828, +(91)-9989129797, 91- |
| Music Files |
|
Campaign settings
- Recent First: Prioritizes recently added records for dialing.
- STD Enabled: Auto-adds prefix 0 before 10-digit numbers.
- ACW for Unanswered Call: Sends agents to ACW even for unanswered calls. This is disabled by default.
- Dial Customer First: System dials the customer first, then connects them to an available agent if they answer.
- Allow Manual Dialing: Enables manual call initiation by agents (if applicable in IVR flow).
- Apply DID masking: Masks the actual caller ID shown to the customer by using mapped DIDs.
- Dial by holding agent: In Progressive dialer, places agent on hold while dialing customers sequentially.
Skills:
In the Skills section, add the list of Skills available to the agent for this Campaign.
Script:
Here in the Script section, add a description of the campaign.
After filling in all the campaign information, Click Save to Commit the changes or Cancel to Discard the changes.
Data
Once the customer record is uploaded to the Campaign, the data status will be displayed in the Data section.
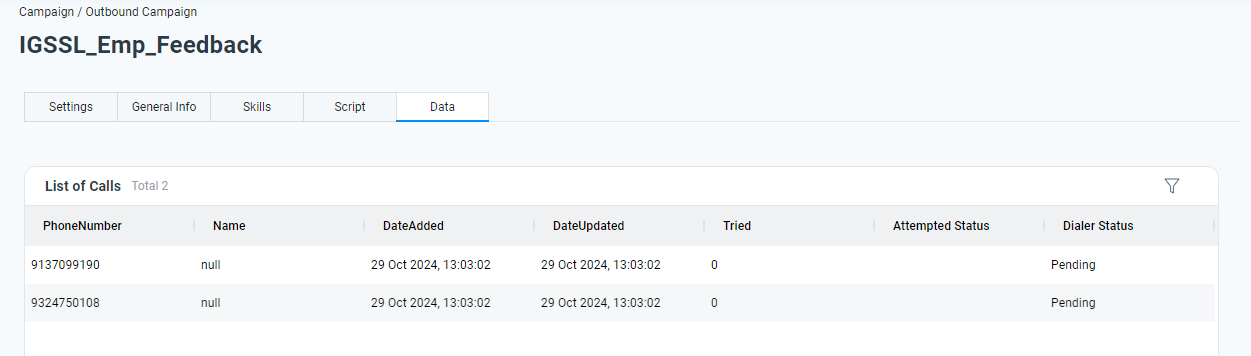
The following information will be available to the Administrators:
- Phone Number
- Name
- Expiry Date ((set during data upload))
- Date added
- Date Updated
- Tried
- Dialer Count
- System Expiry (calculated based on advanced retry settings)
- Attempted Stuatus
- Dialer Status
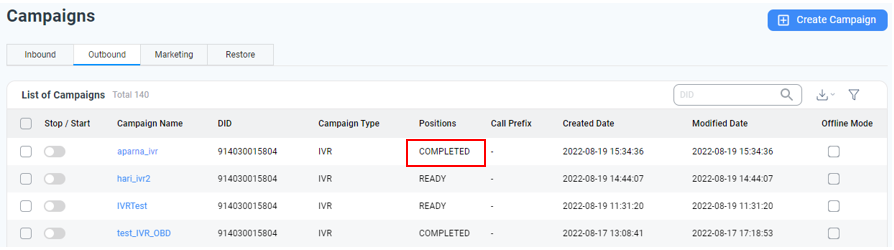
Once the IVR Campaign is completed, the position status of the Campaign will be marked as Completed as shown in the following image.
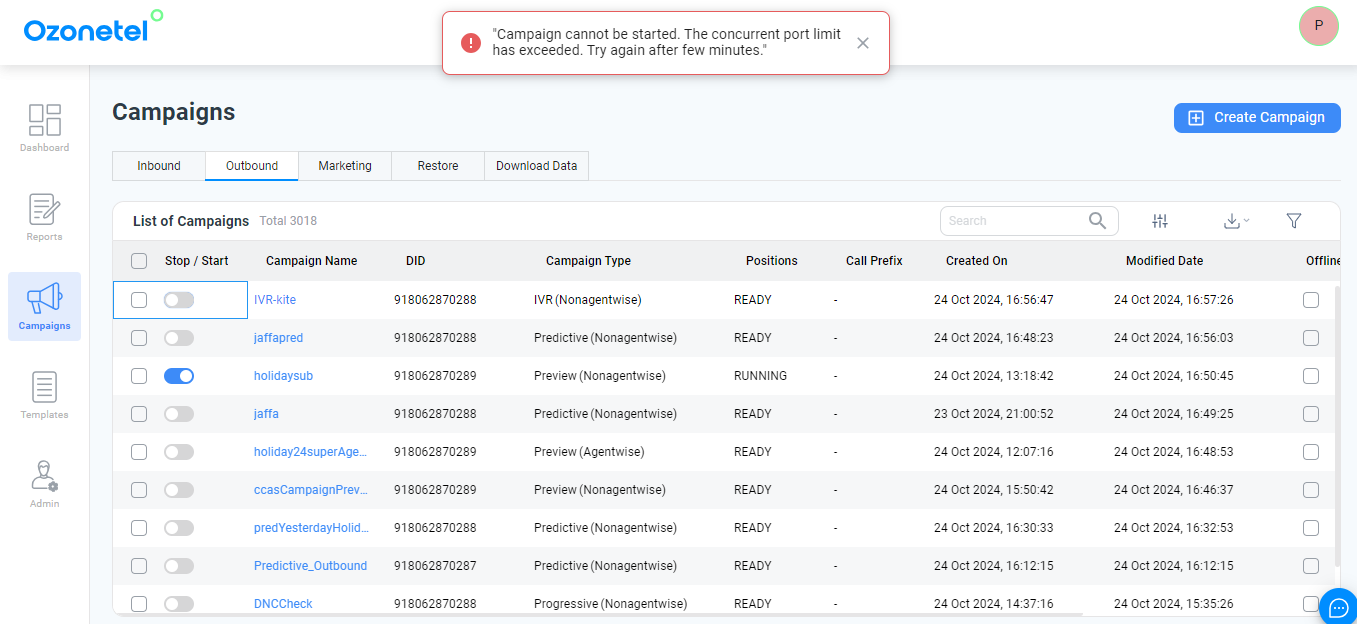
Port Limit
If the concurrent port limit for the account is exceeded, new campaigns cannot be started.
An error message will appear as shown below.
Updated about 1 year ago