Agents
CloudAgent enables admins to create and manage agents with ease. You can assign roles, configure permissions, set call-handling modes, and control feature access.
The following video tutorial demonstrates how to create and manage an agent.
Objective
This section explains how to:
- Add new agents individually or in bulk
- Configure agent permissions and controls
- Lock, deactivate, or reactivate agents
- Assign agents to skills and groups
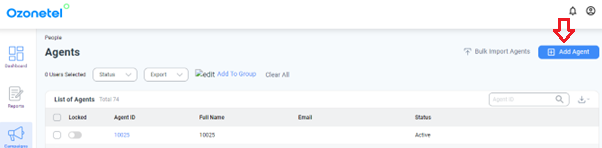
How to Add a New Agent
- Login as Admin
- Navigate to: Admin → People → Agents
- Click Add Agent
Required Fields
| Field | Description |
|---|---|
| Agent ID* | Unique identifier for the agent login |
| Agent Name* | Display name for the agent. Can be the same as the Agent ID if required |
| Email * | Contact email |
| Password* | Secure alphanumeric password |
| Agent Data | Additional Information on the Agent |
| Please Select Agent Modes* | Select agent modes:
|
| Auto answer SIP calls | This option allows you to set for each agent whether they should auto-answer calls. The options are:
|
| Priority* | Determines agent's call-handling preference (1 = highest) |
| Add Groups | Assign the agent to predefined groups |
| Screen Recording | When enabled, screen recording is mandatory for agents. Their screens will be recorded during active sessions. |
| Do Not Enforce Screen Recording | When enabled, screen recording becomes optional. Agents can choose whether or not to share their screen. |
| Skills (Level of priority skill-wise) | This option allows agents to have different priorities for different skills. 1 is the highest priority (Calls are offered first for this priority), and 9 is the lowest for an agent. |
Note:
- Mandatory fields are marked with an asterisk ( * )
- Agents must be assigned to a skill group to be functional.
Call Controller Settings
Customize which call features are available for agents:
- Hold, Mute, End Call, Answer, Decline
- Call Recording, Manual Dial, Disposition, Dial Pad
- Conference (Agent / Phone)
- Transfer (Agent, Skill, Phone, IVR – with Warm / Blind modes)
NoteBulk update agent settings using this guide
Locking an agent
- Temporarily restricts agent login without deleting their profile.
- Useful for scheduled unavailability or compliance issues.

Bulk Upload Agents
- Go to Agents → Bulk Import Agents
- Download the sample XLS, fill agent details, and upload
- Limit: 1000 agents per file. For more, upload in batches.

Note:In the file, use 1 to enable an option, 0 to disable. In the sample below, the General skill is assigned to the agent, with Hold, Mute, and End Call options enabled.

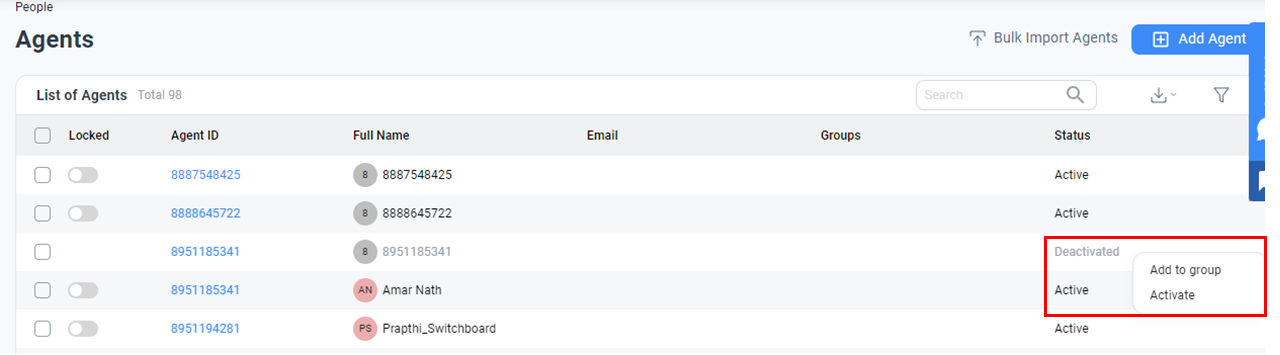
Deactivate / Activate Agent
Agents can be deactivated temporarily instead of deleted. While deactivated:
- They cannot log in or receive calls.
- You cannot update their settings until reactivation.
- However, they can still be added to groups.
To deactivate or reactivate:
- Use the three-dot menu on the Agents screen.
- Choose Deactivate or Activate as needed.
Deactivated agents are retained in the system for future use or audits.