Outbound campaign functions
This article covers the key functions available for managing Outbound Campaigns, including how to start, reset, delete, download, add data, and force complete a campaign.
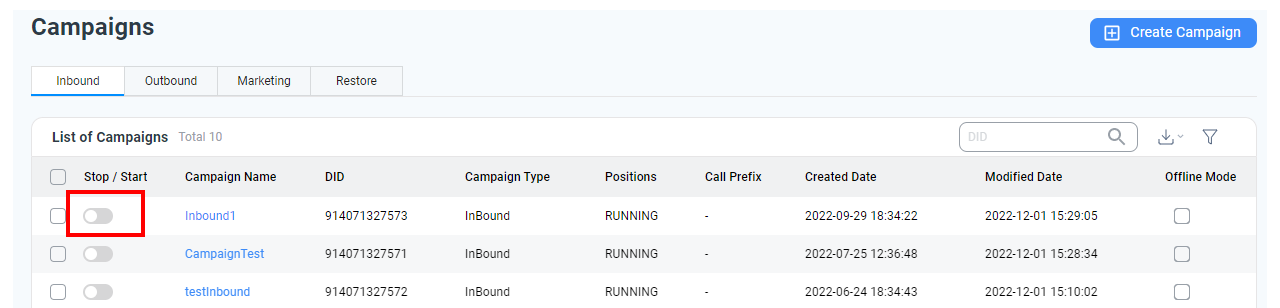
Start / Stop Campaign
- To start a campaign, click the Start/Stop toggle when the campaign status is Ready.
- To stop a campaign, click the same toggle when the campaign status is Running.
This control helps manage when a campaign should be actively dialing or paused.
Reset Campaign
The Reset function clears customer record statuses so they can be redialed.
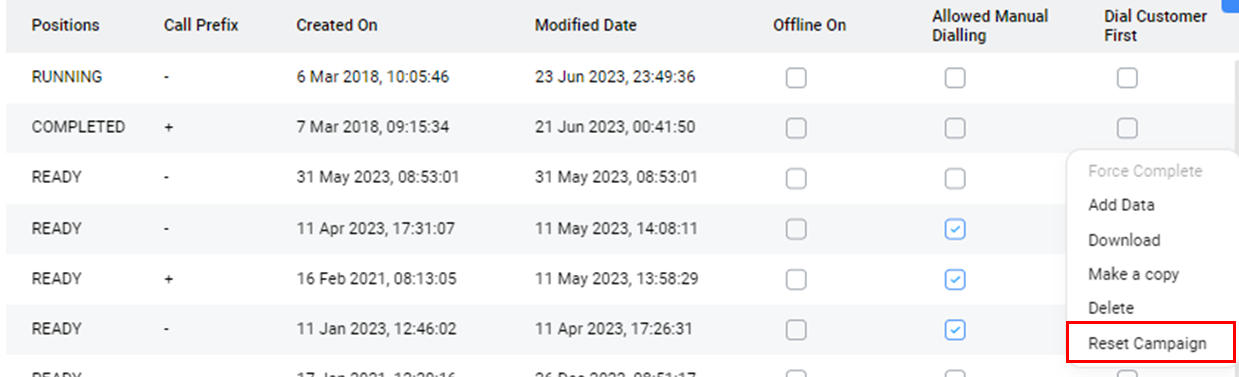
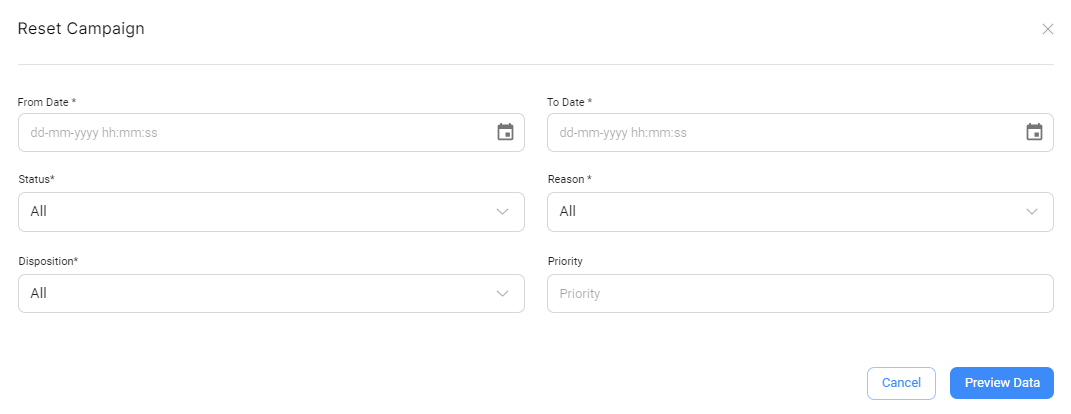
Steps:
- Click the Reset button.
- Select filters like Date, Status, Reason, Disposition, Priority, Agent, or Skill to target specific records.
- Confirm the reset action.
After a successful reset:
- The campaign status updates to Ready.
- The campaign can be started again with refreshed records.
Note:Campaigns can only be reset if they are in a Stopped or Completed state—not Running or Ready.
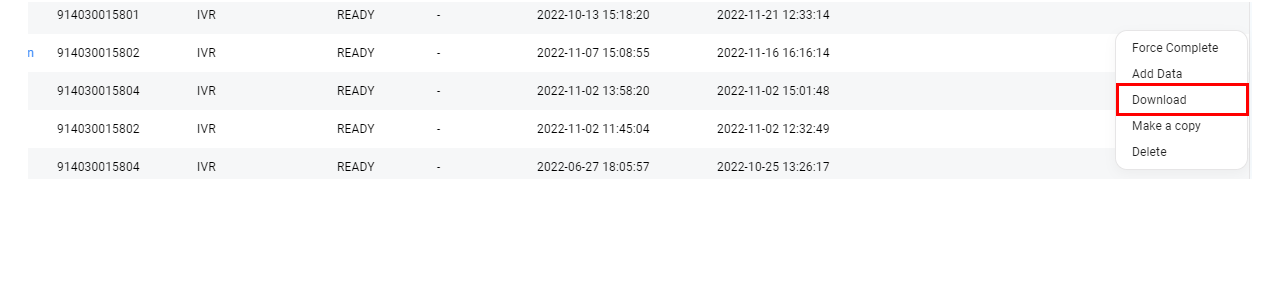
Download Records
Use the Download option to export campaign data.
- Available when the campaign is in Ready or Completed state.
- Data can be downloaded in CSV, Excel, XML, or PDF formats.
This is useful for audits, backup, or analytics.
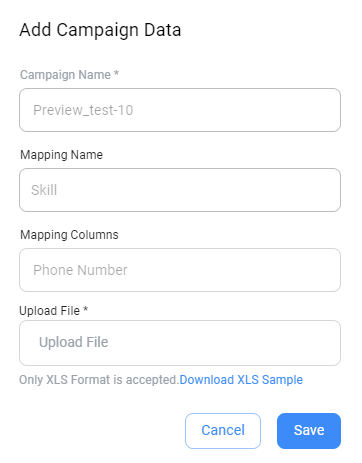
Add Data
Admins can append customer records to a campaign using the Add Data feature.
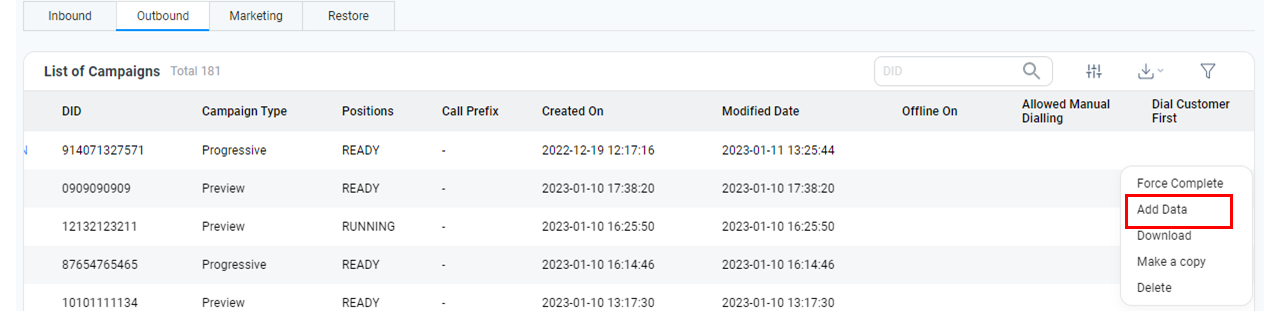
- Available only when the campaign is in Ready or Completed state.
- Upload files in the same format as originally defined in the Mapping headers.
This option is not available when the campaign is Running.
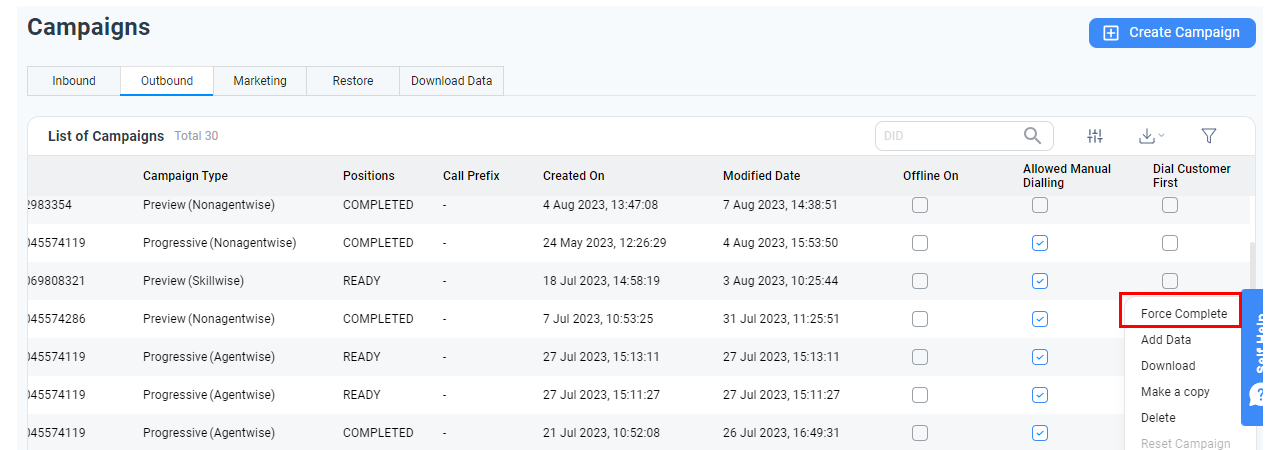
Force Complete
The Force Complete function ends a campaign prematurely.
- All pending or unprocessed records are marked as Completed.
- Campaign status updates to Completed immediately.
Use this to stop any further dialing attempts, especially during urgent shutdowns or data changes.
Updated 4 months ago