Groups
Introduction
In CloudAgent, Groups are logical clusters used to organize agents by function, department, or responsibility. They simplify campaign assignments, reporting, and access management. As an admin, you can create, edit, and manage groups at any time.
Creating a new group
To create a new group in CloudAgent:
- Log in to the CloudAgent portal as an Admin.
- Navigate to Admin Tab → People → Groups.
- Click Create Group.
- In the creation form:
- Enter the Group Name.
- Provide a short Description (optional but recommended).
- Select one or more Sub-Admins who will have access to this group.
- Click Continue.
- Use the dropdown list to search and select agents to be added to the group.
- Click Create to finalize the group setup.
A group can be edited later to add or remove agents or update the assigned sub-admins.
Adding or Removing Agents from a Group
Agents can be added or removed using either of the following methods:
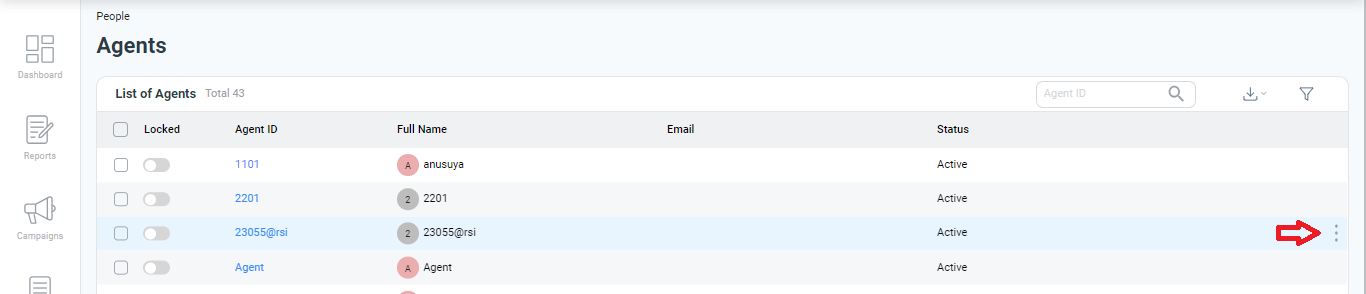
Method 1: From Agents Section
- Go to Admin Tab → People → Agents.
- Find the agent you want to add to a group.
- Click the three-dot icon beside the agent's name.
- Select Add to Group.
- Choose the desired group from the dropdown and click Add.
Method 2: From the Groups Section
-
Go to Admin Tab → People → Groups.
-
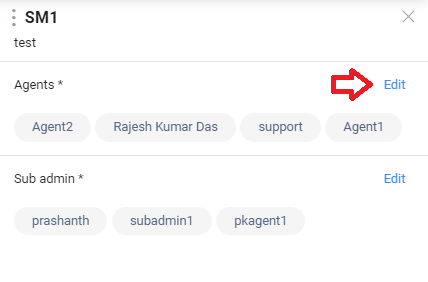
Double-click an existing group to open its configuration screen.
-
Under the Agents section, click Edit.
-
Use the search or the dropdown to add agents.
-
To remove an agent, click the X next to their name.
-
Click Save to apply your changes.
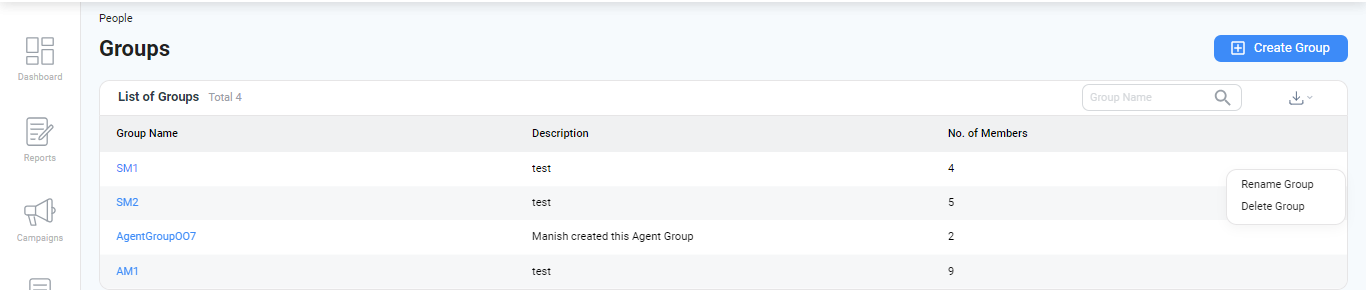
Renaming or Deleting a Group
To rename or delete a group:
- Hover over the group name in the Groups list.
- Click the three-dot icon (vertical ellipsis).
- Choose either:
- Rename Group – Update the group’s name and save.
- Delete Group – Permanently remove the group.
Deleting a group does not delete the agents within it—it only unassigns them from the group.
Updated about 1 year ago