WhatsApp Configuration
Currently, this feature is accessible only on in-ccaas.ozonetel.com & ccaas.ozonetel.com instances.
To configure WhatsApp for digital campaign(s), follow these steps:
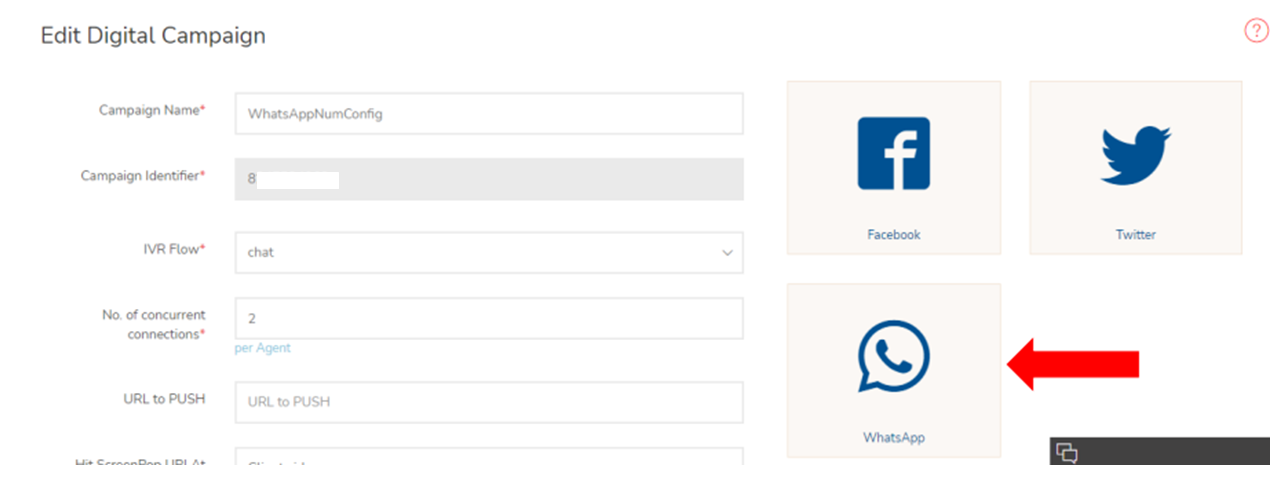
- Create a digital campaign on the CloudAgent platform.
- "Edit’ the campaign.
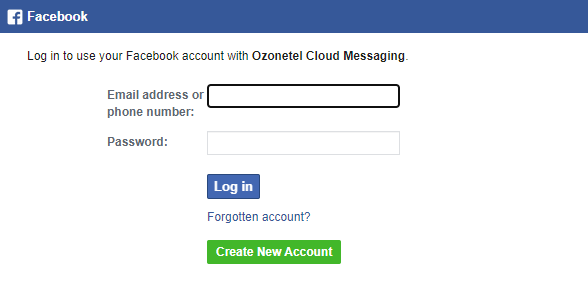
- Click on the WhatsApp integration icon to open a pop-up that prompts you to log in with Facebook.
- Log in to your Facebook account or create a new account if you don't have one.
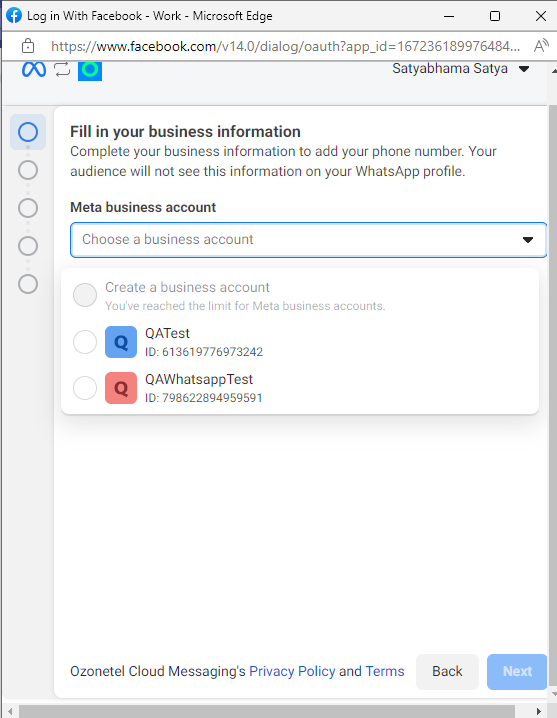
- Create a Meta / WhatsApp Business account if you don't already have one.
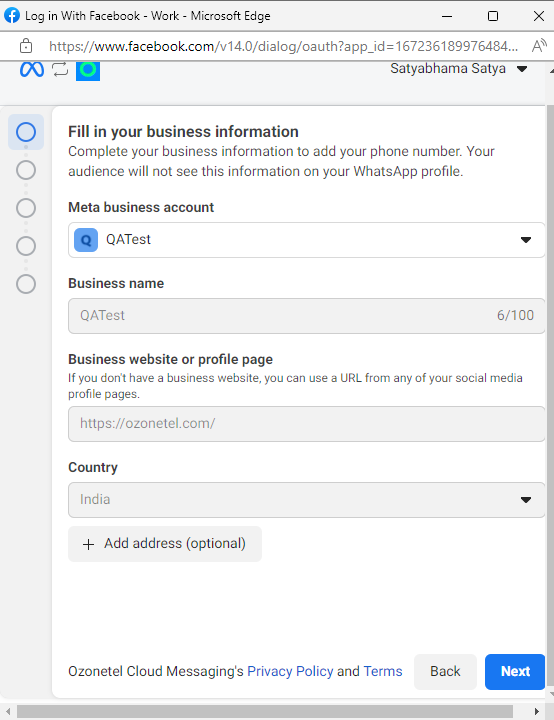
- Set up your business profile with your business name, business website, country, description, etc.
- Add a phone number for WhatsApp.
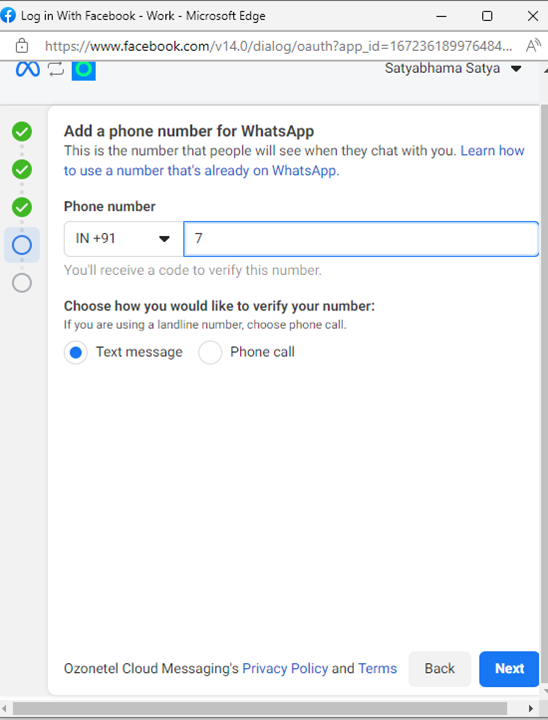
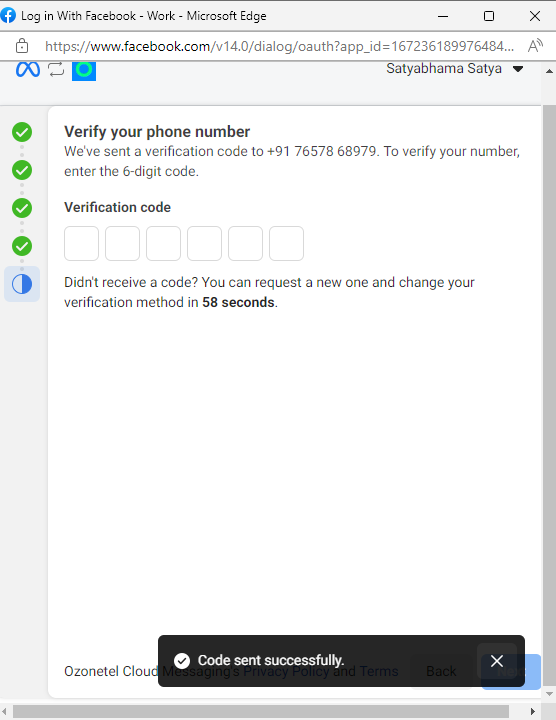
- Verify your WhatsApp Business number or DID (an OTP or voice mail will be sent to the corresponding mobile number). In the case of DID (Ozonetel provided), currently the verification of OTP is with Ozonetel as of now (will be brought to the front end in the coming releases).
- Once the business account is verified, admin will be redirected back to the CloudAgent platform.
- Configure the verified WhatsApp number or DID on the WhatsApp integration page to start using it for your digital campaign.
- Click on the setting button on the WhatsApp integration icon.
- Add the verified phone number / DID (Direct Inward Dialing) number that was set up earlier, along with the appropriate skill.

By following these steps, you can seamlessly integrate WhatsApp into your digital campaign and use it as a communication channel to engage with your audience.
Updated over 1 year ago
Did this page help you?