Manage Numbers
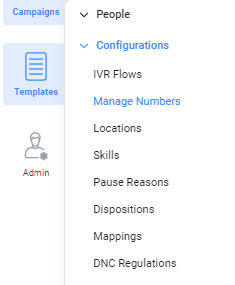
The Manage Numbers option, located under the Admin tab, provides a central hub for adding and configuring various types of phone numbers used in contact center operations. These phone numbers are essential for seamless communication between agents and customers, ensuring efficient call routing, and maintaining a high level of customer service.
CloudAgent platform allows you to create Agent Phone Numbers, Dialout Numbers, Transfer Numbers, and Blocked Numbers. Let's understand each of these available options and how to create them.
Agent Phone
You can either follow the video tutorial or follow the steps outlined below to add a phone number to your CloudAgent account:
- Navigate to 'Admin > Configurations > Manage Numbers.'
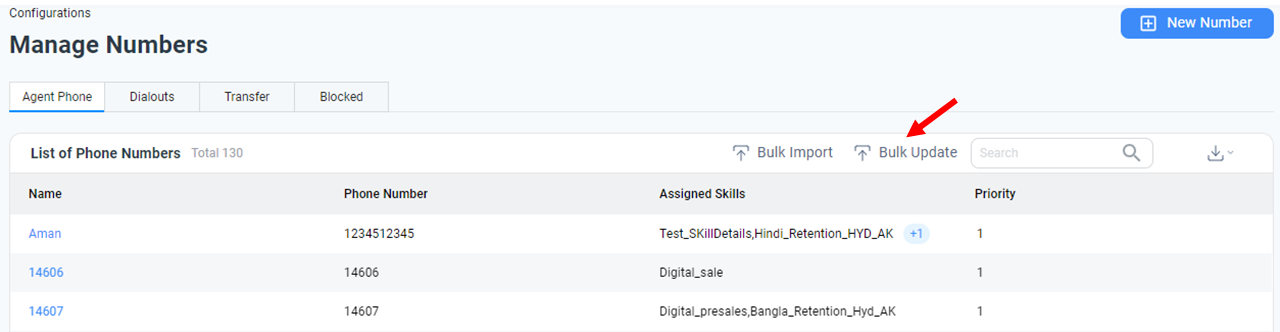
- On the Manage Numbers page, click on the 'New Number' icon, located at the top right corner of the page, and choose the 'Agent Phone Number' option.
- Provide the Phone Number (or SIP number) & the corresponding agent Name to whom it will be associated.
- The format of the phone number can include the country code with '+' or just the number
- For SIP number creation, ensure to check the 'SIP' checkbox. Then, select the SIP number from the drop-down list in the 'Phone Number' field. These SIP numbers are listed along with their corresponding SIP locations for ease of selection.
- Choose the priority for the added number. This is particularly useful when agents are offline, and calls are routed using a hunting mechanism.
- You can also tag Skills to the phone number. The configured skills on your account will be displayed as a list.
- Click 'Save' to add the new number for an agent.1
Bulk Upload
During a bulk upload of phone numbers, even if any invalid numbers are identified, only the valid numbers will be added to the system. The invalid numbers will be excluded from the upload, ensuring that only accurate and valid phone numbers are integrated into the system.
Dialout Numbers
The dial-out numbers need to be defined manually through this option.
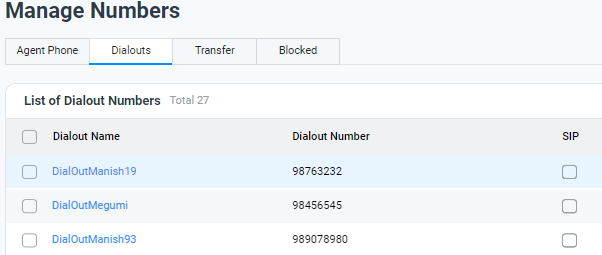
Dial-out numbers are used for fallback rules in skills. When you want to dial a particular number when your agents are busy or not logged in, this option is used. Here is a video tutorial that provides further insights into the effective management of Dial-out numbers.
Transfer Numbers
This option defines the list of numbers for transferring calls.
The Transfer Number List is used to transfer calls to a third party. The name and transfer number are added to this list. There is also the option to call a SIP phone if it is supported in your account. The Agent can only transfer to a predefined number if the transfer list is defined. The admin can search the list automatically, and the data can be downloaded in XLSX format. The following video tutorial assists you in the process of creating and managing transfer numbers.
Blocked Numbers
A "Blocked Number" option in a campaign refers to a feature that allows you to prevent certain phone numbers from being called. If the "Block Number" option is enabled on the campaign settings, the system will check the list of blocked numbers before making a call. If the number being called is on the blocked list, the call won't be made. This can be useful for preventing calls to numbers that have previously requested not to be called, or to numbers that have been flagged as spam or fraud.
Block Number Groups
This group can be created and managed by the user or administrator. The "Block Number Group" is a named list of phone numbers that have been designated as blocked numbers. Once a group is created, it can be easily referenced by name when setting up a campaign. This feature allows for greater flexibility and ease of management when it comes to blocking numbers.
To create a block number group, follow these steps:
-
Access the admin login page and navigate to Admin -> Configurations -> Manage Numbers.
-
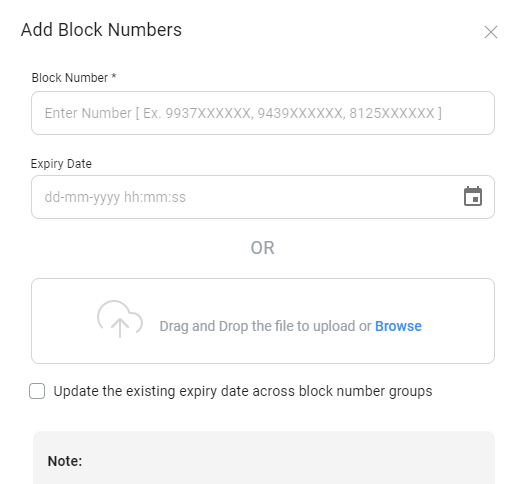
Select the 'New Number' button located at the top right corner and proceed to add a new block number.
-
Enter a list of block number(s) with comma-separated values in the 'Block Number' field. Additionally, specify the expiry date for these numbers if needed, indicating the duration you want them to remain in the blocked list.
-
You also have the convenience of bulk uploading the list of numbers along with their respective expiry dates through a file upload. A sample file is provided for your reference. Each upload can include up to 1,000 numbers.
- Make sure to check the box labeled "Update the existing expiry date across block number groups" if you want to update the expiry date of a number in all groups.
-
For the next step, you have the option to either create a new group for the added number(s) or add them to an existing group. Please provide a name and description for the group of your choice.
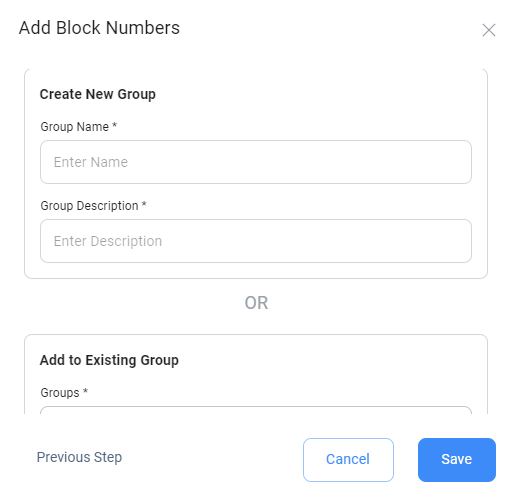
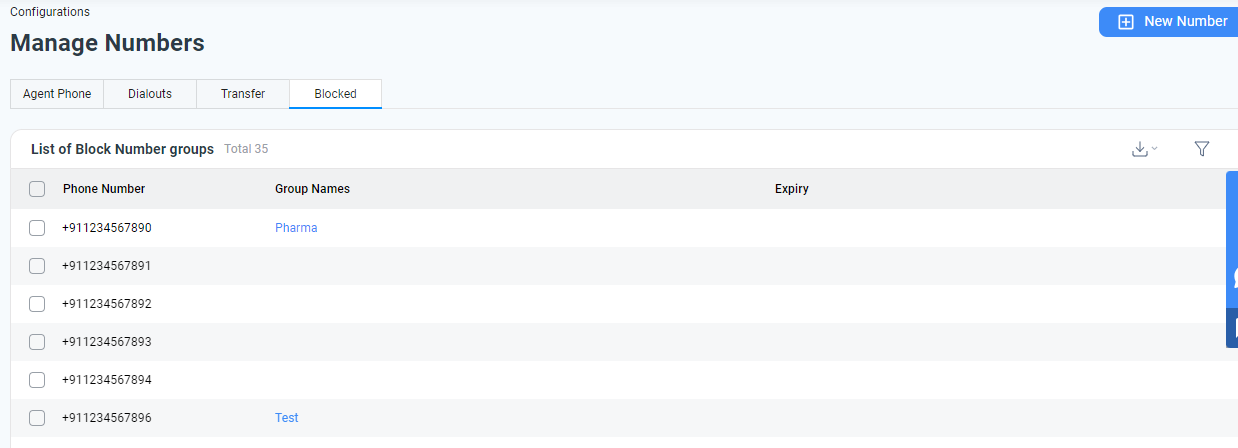
- Once you've entered all the required information, click "Save" to successfully create the block number group. The numbers will then be listed along with the corresponding details including Phone Number, Group Names, and Expiry Date. Refer to the image below.
- To edit an existing group, such as the group name or description, double-click the corresponding block number to enable editing of the fields.
Here's a video tutorial that guides you through effectively managing blocked numbers.
Block Numbers Asyn Download
- When you download Block Number data, the system processes it asynchronously to ensure no data is lost.
- The report will be available under Reports → Live → Downloaded Reports.
- A pop-up notification also appears, giving you a direct link to the Downloaded Reports page for quick access.
Updated 11 months ago