Integration with FreshDesk
This support article provides a detailed guide on how to seamlessly integrate CloudAgent with FreshDesk
Technical Prerequisites
- Freshdesk Account
- Admin rights to install private apps or API keys.
- Browser Support
- Preferably Chrome and Edge
- Permissions Required
- Freshdesk Admin role for app installation and scope granting.
Core Features & Behaviors
| Feature | Description |
|---|---|
| Click to Call | Standard CTI Click-to-Call (C2C) |
| Screen Pop | When a call is connected to the agent, CloudAgent searches for the customer using the phone number. • If a matching record is found, a new ticket is created and opened in FreshDesk. • This ensures agents have immediate context to respond efficiently. |
| Ticket Creation/Updation | • Upon connection, CloudAgent attempts to create a ticket based on the settings configured in both the CloudAgent portal and FreshDesk app settings. • If ticket creation fails (due to request/response errors or missing field mappings), CloudAgent retries ticket creation on subsequent call events like busy agent, call drop, or disposition. • Once the ticket is successfully created, all relevant fields are updated automatically on subsequent events based on integration configuration. |
Installation of the CloudAgent app
-
Login to FreshDesk account.
-
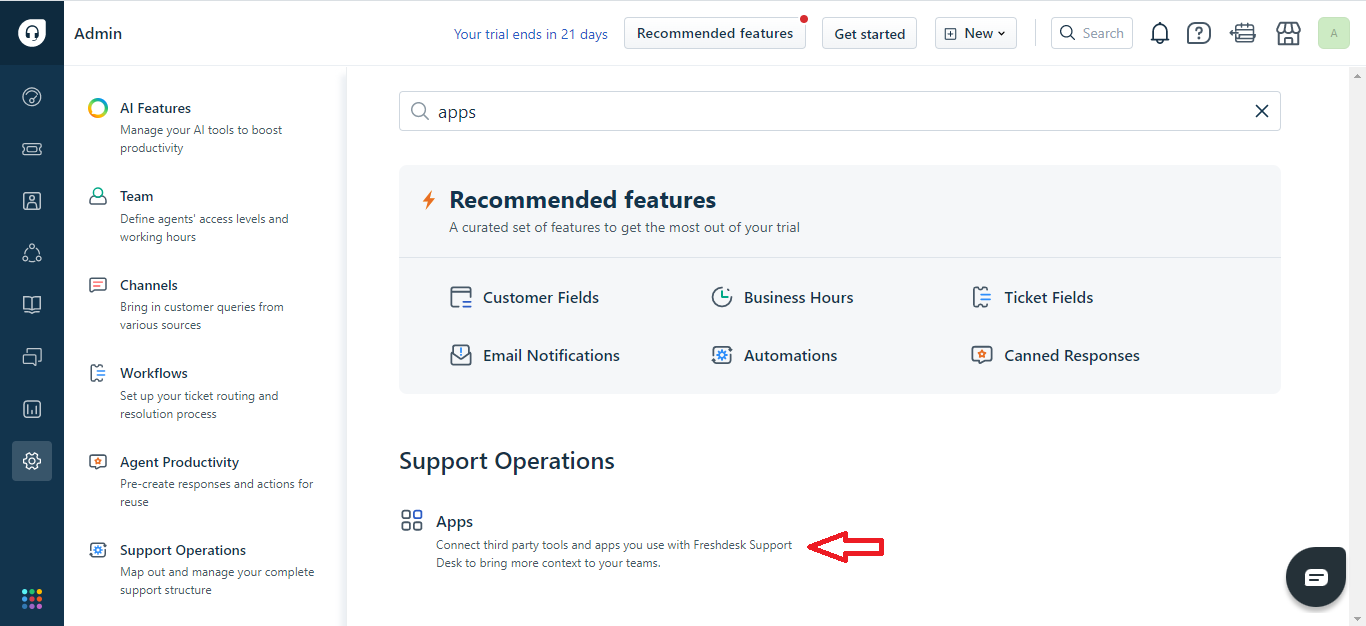
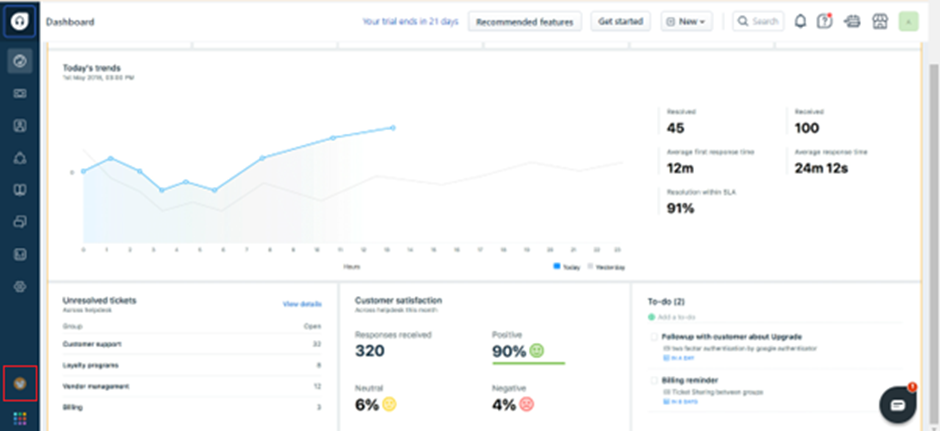
Click on the 'Settings' icon on the left navigation and search for apps as shown below.
-
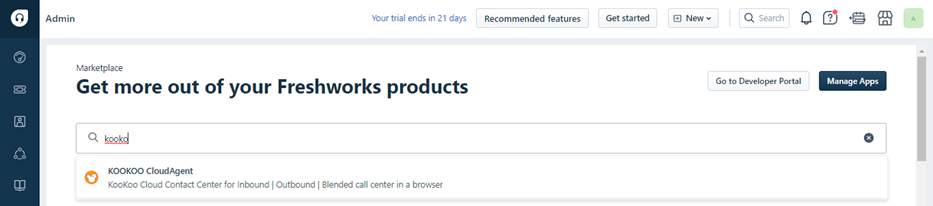
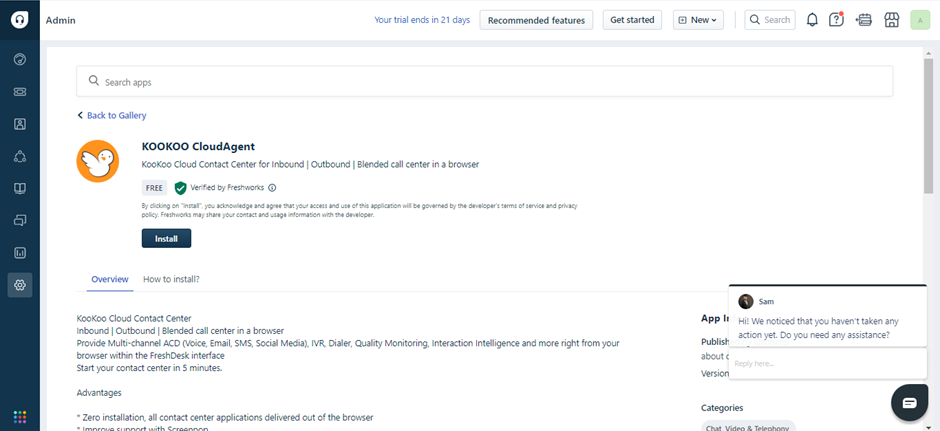
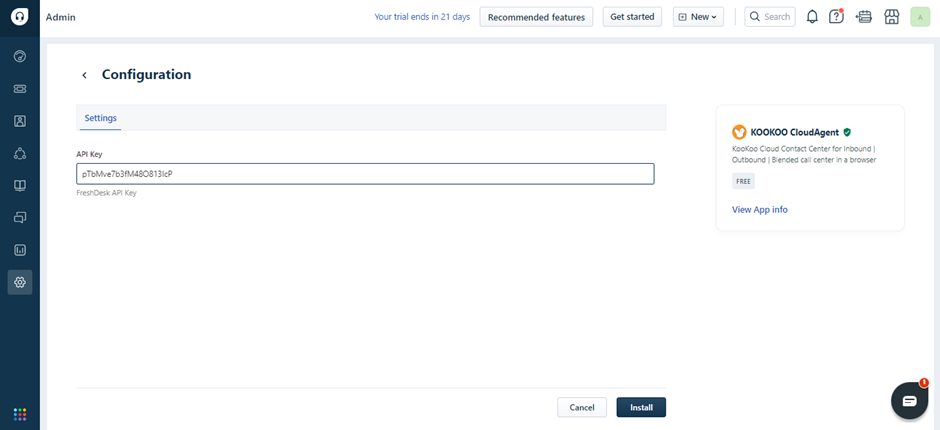
Search for the 'KooKoo CloudAgent' app & click 'Install'.
-
Input the API key in the KooKoo CloudAgent installation page (refer to the 'Steps to get the API Key' section).
-
The KooKoo CloudAgent widget will be available on the bottom left navigation as shown below.
-
To customize the KooKoo app, go to 'Admin Settings'.
-
Search for apps and click on Manage apps
-
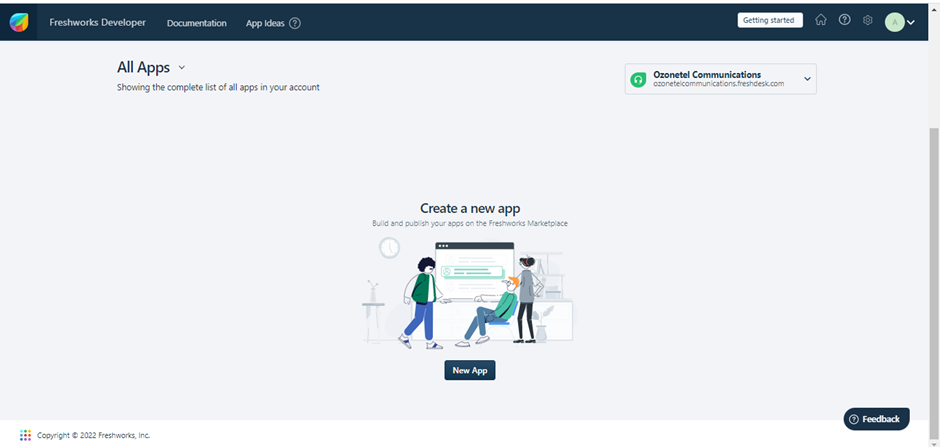
Select 'Go to Developer Portal' and click on 'New App'

-
-
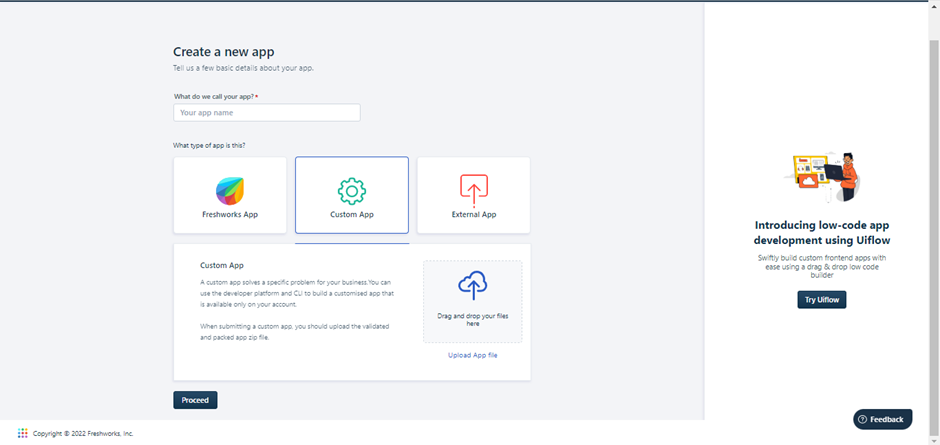
Select 'Custom App' and provide a name for the app.
Upload the zip file provided by Ozonetel and click 'Proceed'
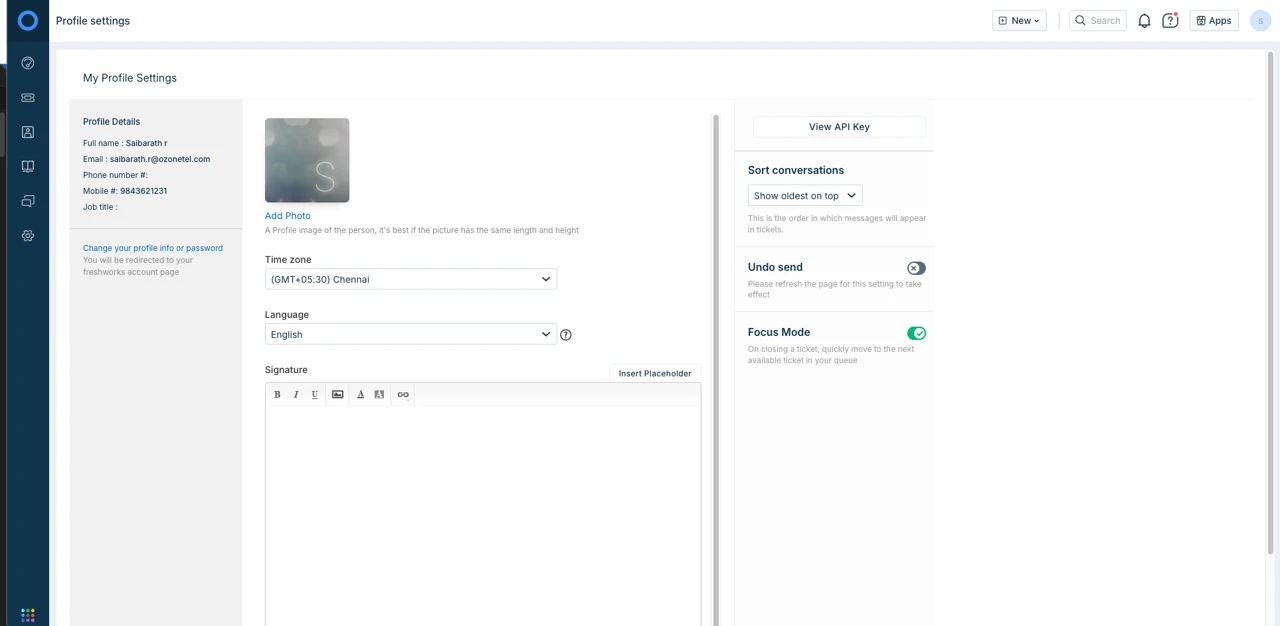
Steps to get the API Key
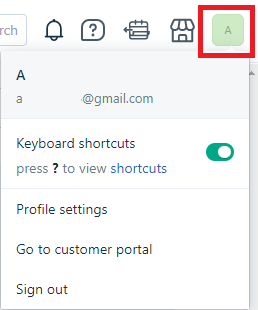
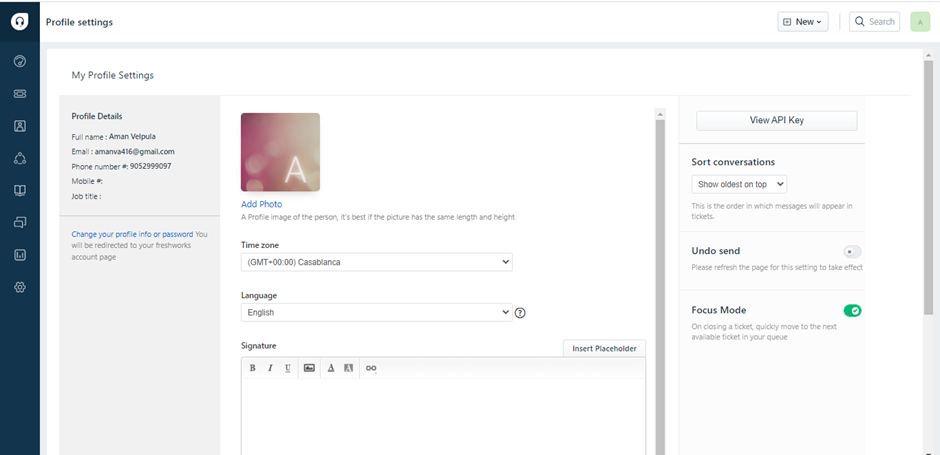
- Click on the profile picture in the top right corner and click on 'Profile Settings'.
-
Select the 'View API Key' tab on the Profile Settings page to view the API key.
-
Copy the API key and paste in the KooKoo CloudAgent installation page.
Set Up Single Sign-On (SSO)
Follow the below steps to configure Auto login:
-
Log in to Freshdesk as admin and open the CloudAgent app settings from market place installed apps section.
-
Open the settings of the CloudAgent app.
-
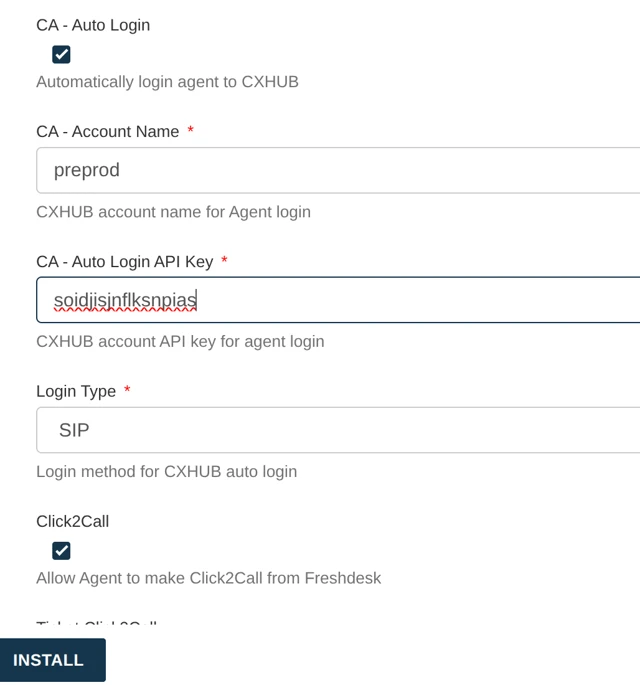
Update values for the following fields:
- Account Name
- Api Key for the account, can be taken from the admin settings page.
- Login type SIP or Phone Number
- If SIP → SIP login will be used for auto login.
- If Phone Number → Mobile Number from the Freshdesk user profile will be used to auto-login. This phone number should exist in the CXHUB Account as the Agent Phone Number.
-
Install the app after entering the new setting values.
-
Log out of the admin account and log in as a Freshdesk user.
-
Freshdesk User email should be same as the Agent id in CXHUB.
-
Sip Login → Freshdesk user login in to Freshdesk then auto sip login will be initiated to login.
-
Phone Number Login –> Freshdesk user mobile number should be added as Agent Phone number then once the Freshdesk user login in to Freshdesk, toolbar will initiate login using Freshdesk user email and mobile number.