Getting Started
For a smooth start, here's how to access CloudAgent:
- Use Google Chrome or Mozilla Firefox browsers for the best experience.
- Note: All screenshots are from Google Chrome.
- To log in, visit the following URLs based on your account:
- Domestic CCaaS users: https://cloudagent.ozonetel.com/
- International CCaaS users: https://cxhub.ozonetel.com/login

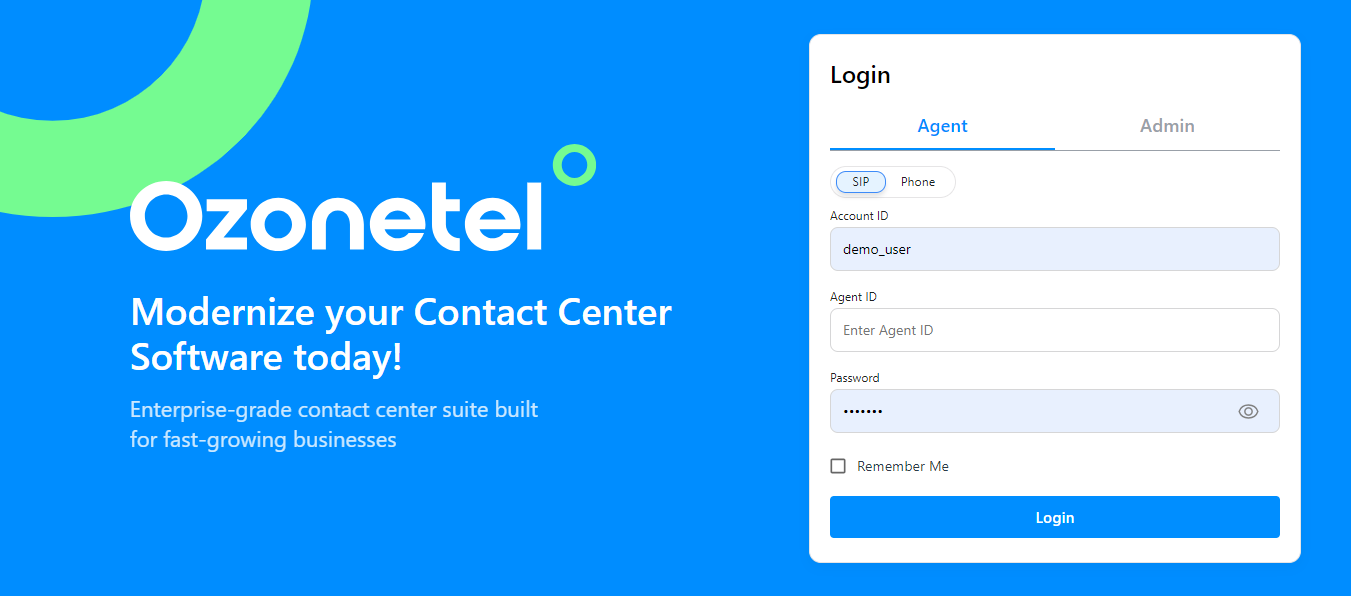
- Select the blue-highlighted "Agent Login" to sign in as an agent. Don't use the other login meant for Admin.
Bookmark the main login page for quick access. This ensures agents can reach the login screen easily.
- Enter the appropriate agent login credentials. Once all the required fields are filled, click "Login" to access the home page.
- In the case of agents using the 'SIP' Login option - SIP number input is not needed
- Note: Ensure SIP numbers are added in the 'Agent Phone' section of the 'Manage Numbers' configuration page (see details)
- Note: Make sure the SIP locations are configured appropriately (see details)
- In the case of agents using the 'SIP' Login option - SIP number input is not needed
Refer to the table below for further details:
Phone Number |
|
Account ID | CloudAgent account ID |
Agent ID | The unique ID assigned to an agent |
Password | Password for authentication, assigned by the admin |
Multi-Factor Authentication
If multi-factor authentication is enabled, please note the following:
- If you log in using your phone number, the OTP will be sent to your registered number.
- If you log in with a SIP number, the OTP will be sent to your configured email address.
- If no email is configured, please contact your administrator.
Updated 10 months ago
