Integration with FreshService
This guide will walk you through integrating CloudAgent with FreshService to enhance your customer support experience.
Technical Prerequisites
- Freshservice Account
- Must have a Freshservice account with Admin privileges to install and configure the CloudAgent integration.
- Browser Compatibility
- Preferably Google Chrome and Microsoft Edge.
Core Features & Behaviors
| Features | Description |
|---|---|
| Click to Call | Standard Click to call |
| Screen Pop | When a call connects to the agent, CloudAgent searches Freshservice by the customer’s phone number: • If a match is found, a new ticket is created and immediately opened for the agent’s review. |
| Ticket Creation/Updation | Upon call connection, CloudAgent attempts to create a ticket in Freshservice: • If ticket creation fails (due to API errors or mapping issues), it retries on subsequent triggers such as agent busy, call drop, or disposition. • Once created, the ticket’s fields (status, notes, etc.) are updated in real time as further call events occur. |
Integrating Steps:
-
Log in to Your FreshService Account
- Go to the FreshService Login Page.
- Enter your credentials and log in to your account.
-
Access the Admin Tab
- Once logged in, navigate to the Admin tab in the left-hand menu.
-
Install the CTI Framework
-
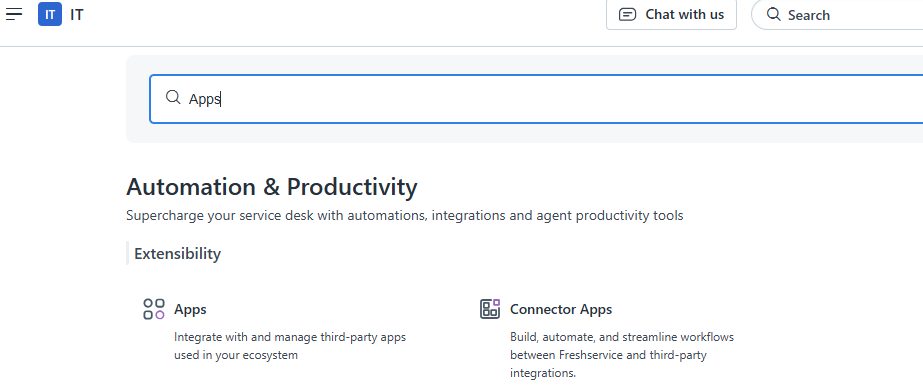
In the Admin tab, search for Apps and open the Apps section.
-
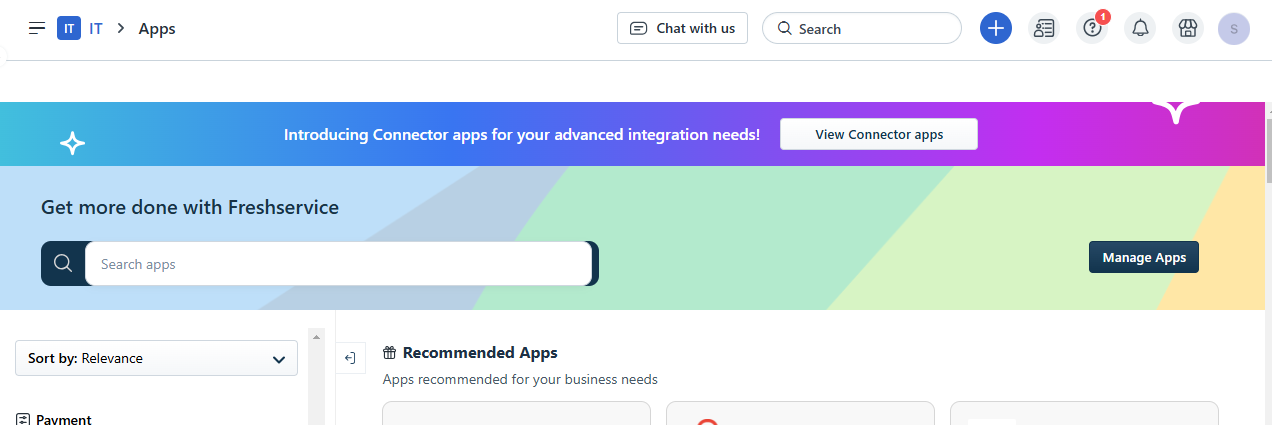
Navigate to the Apps tab and select Manage Apps.
-
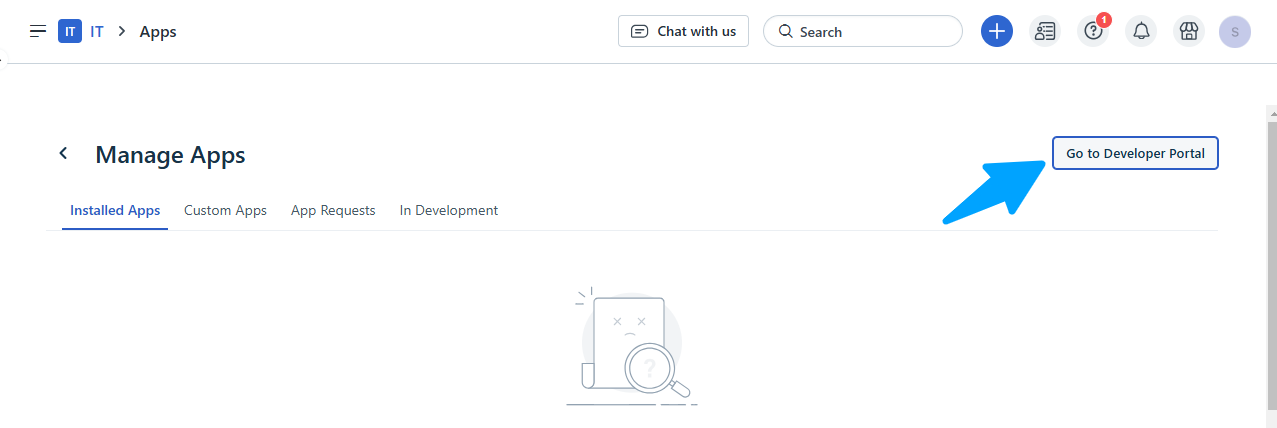
Navigate to the Developer Portal and select your account.
-
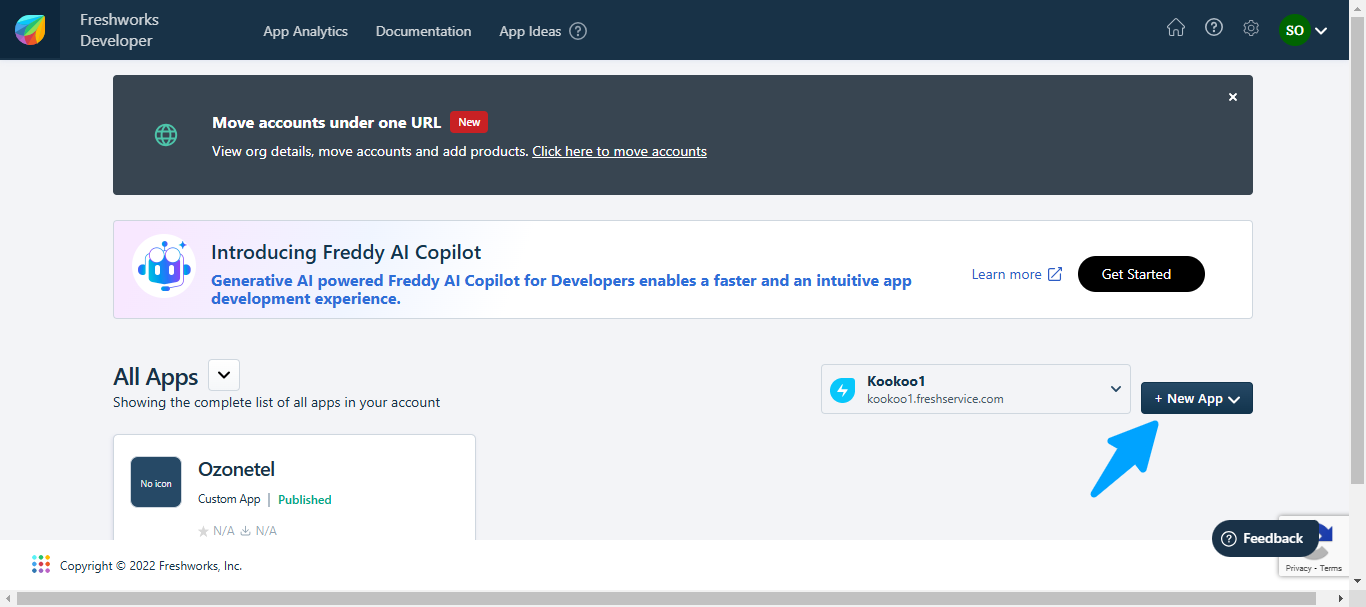
After selecting your account, you'll be directed to the developer page. From there, click on Create a New App and choose Custom App.
-
In the Custom App section, upload the provided zip file (Or download from here) and assign a name to the app. Then, click Save and Continue to enter the app details, including the overview and short description.
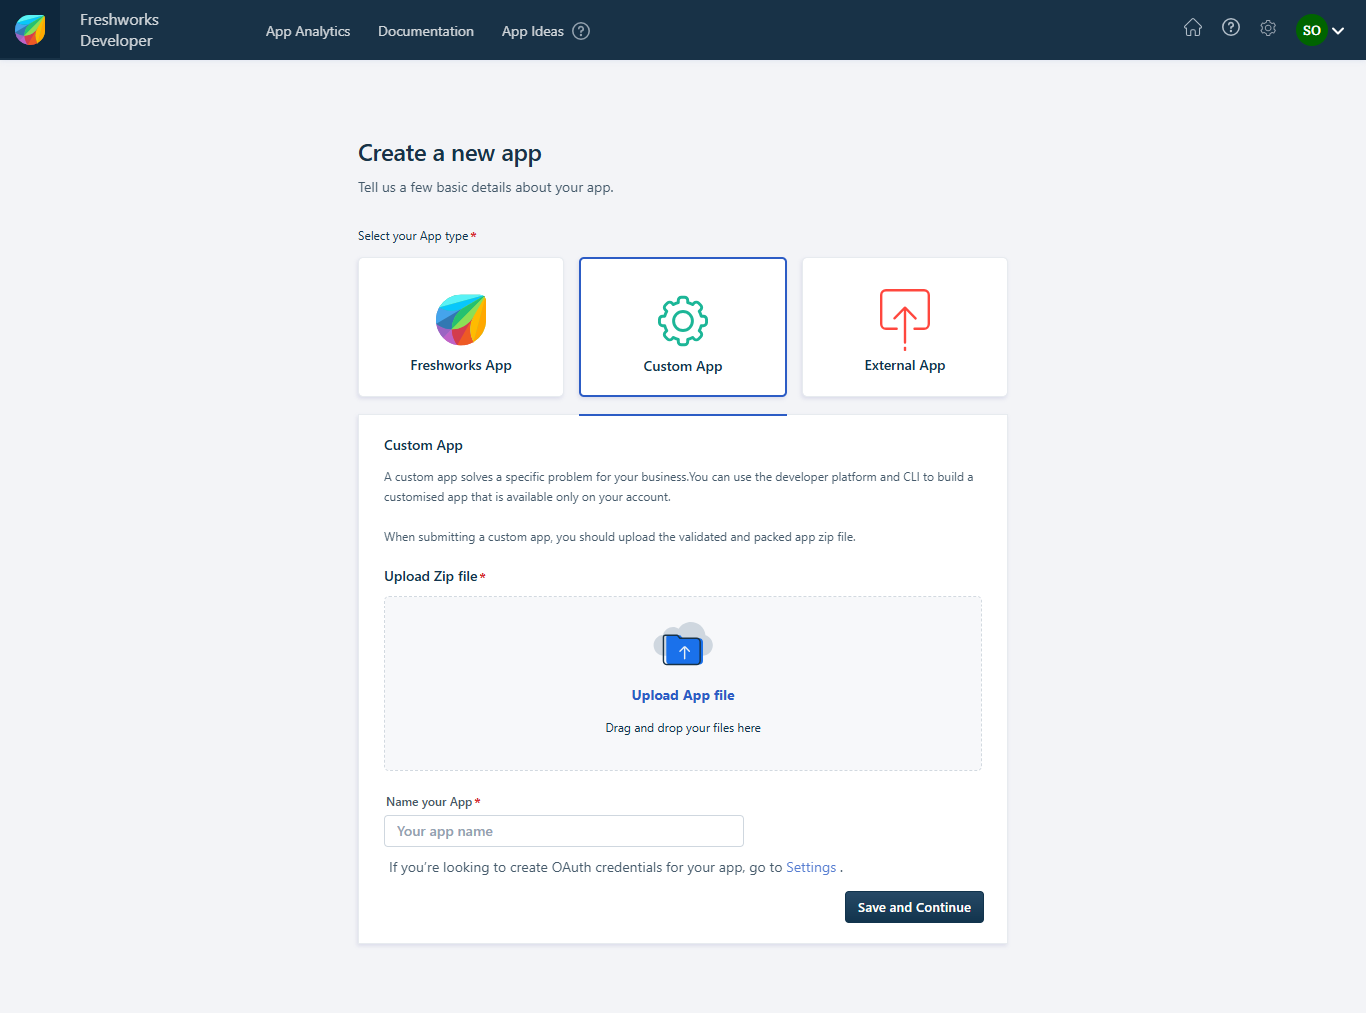
-
In the Media and Installation section, you can upload the app icon and screenshots if needed. Be sure to include a Support Email as well.
-
Once all the information is complete, click Save and Publish.
-
-
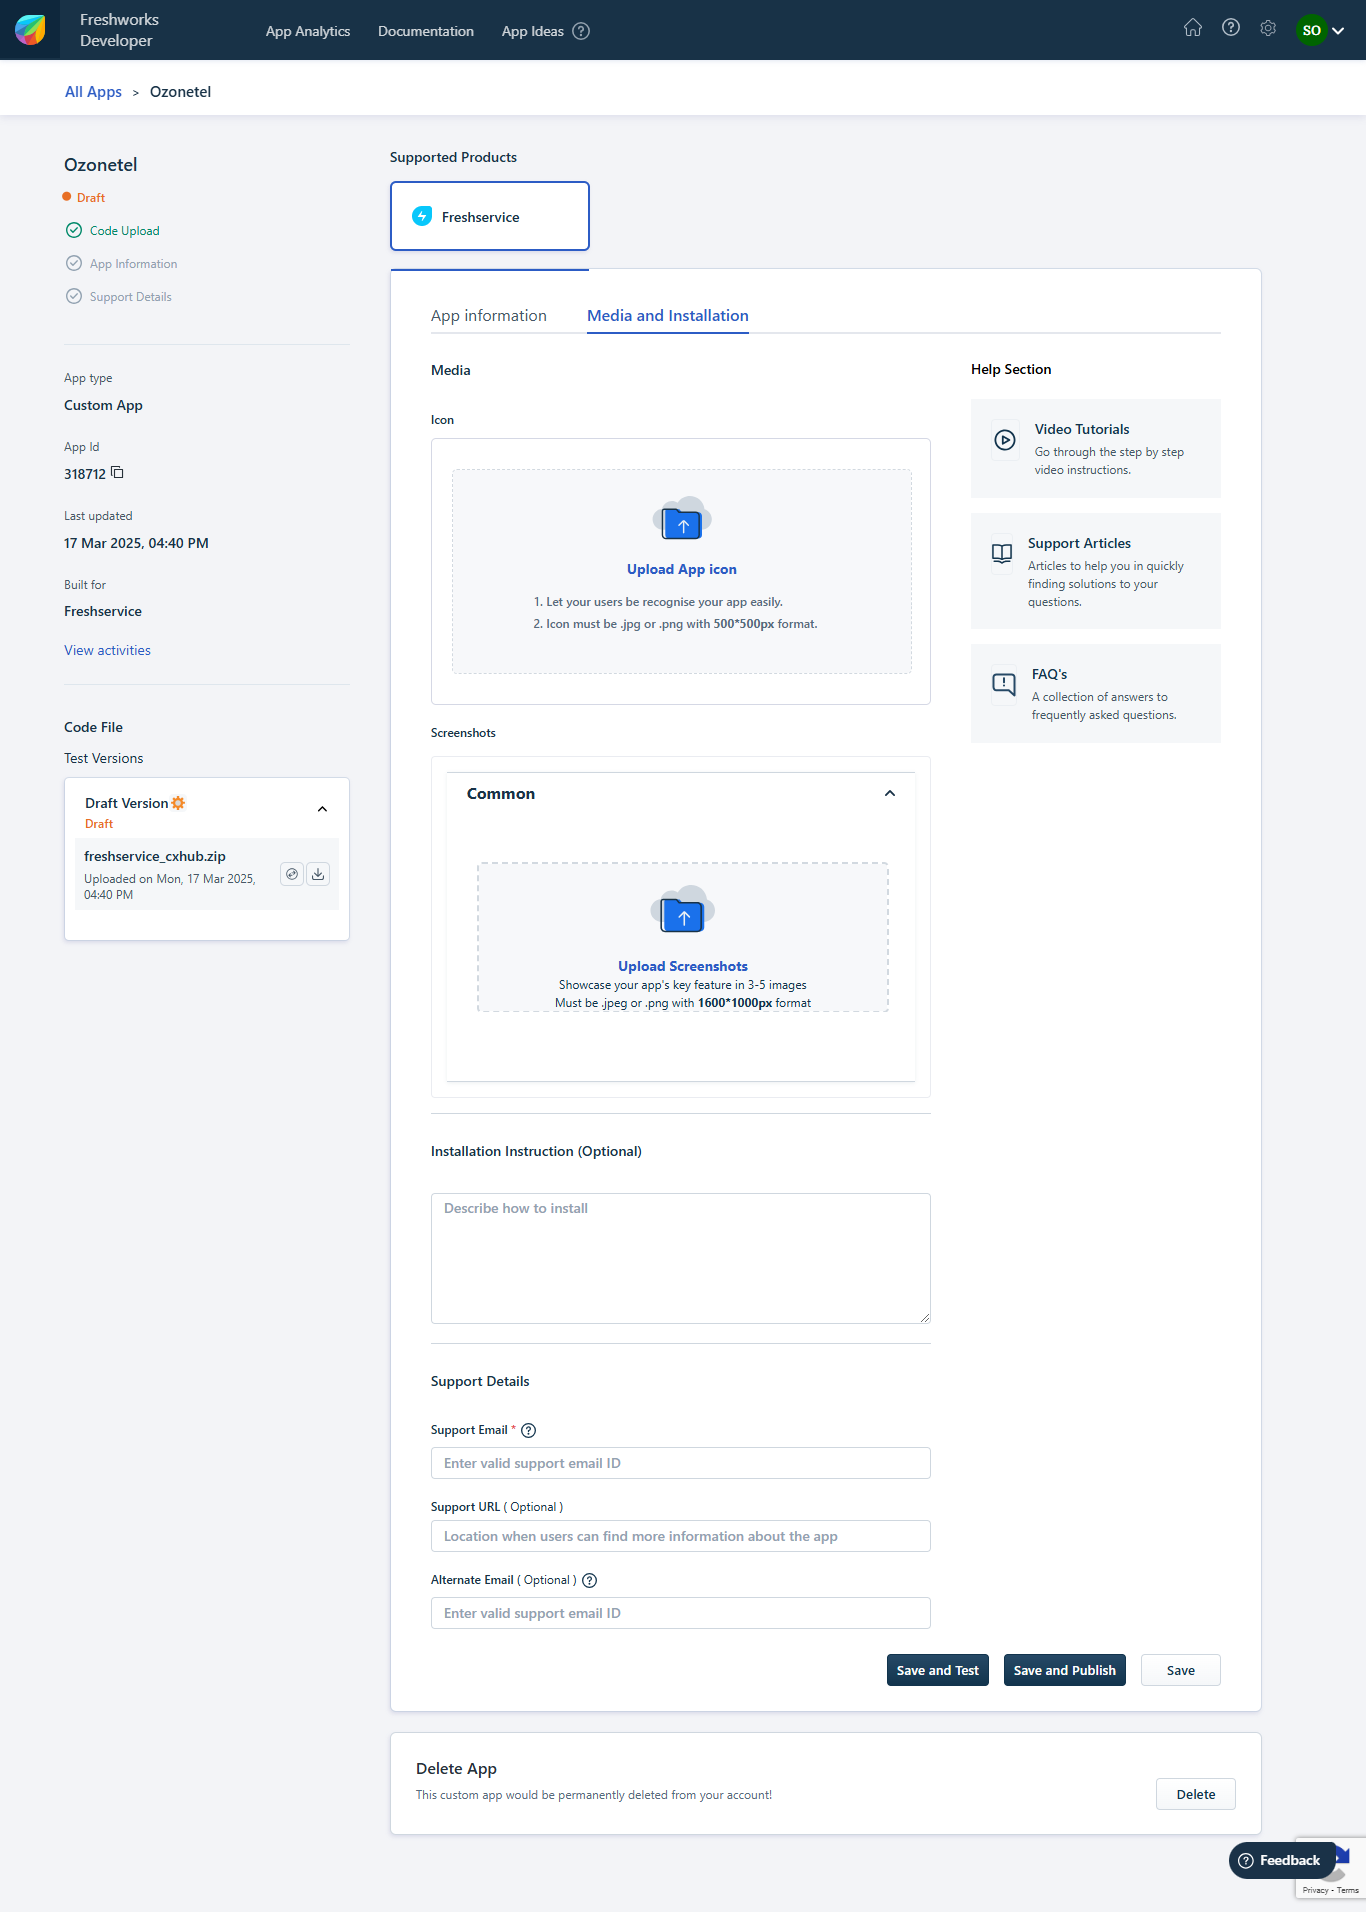
Now, under the Manage Apps > Custom Appspage, you will see the app you uploaded. Proceed to install the app.
-
On the Configuration page, provide all the necessary details.

-
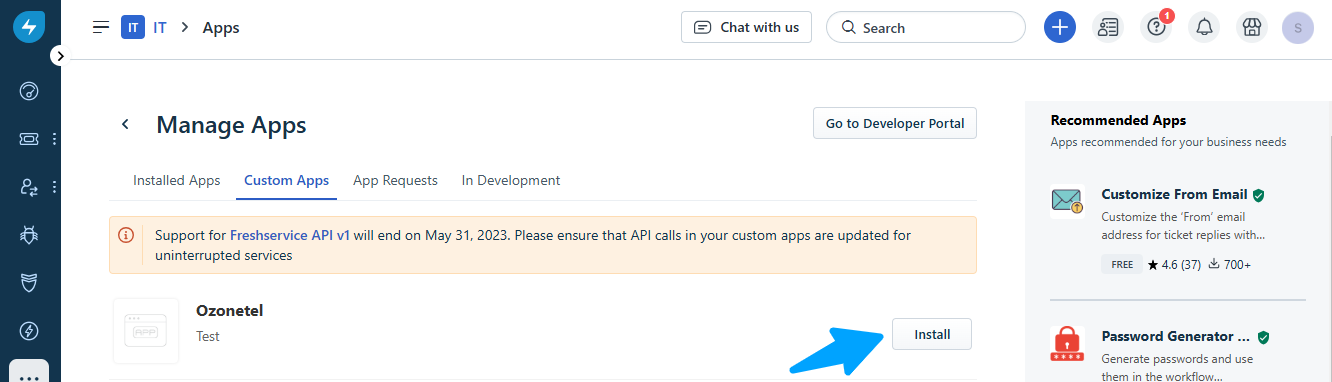
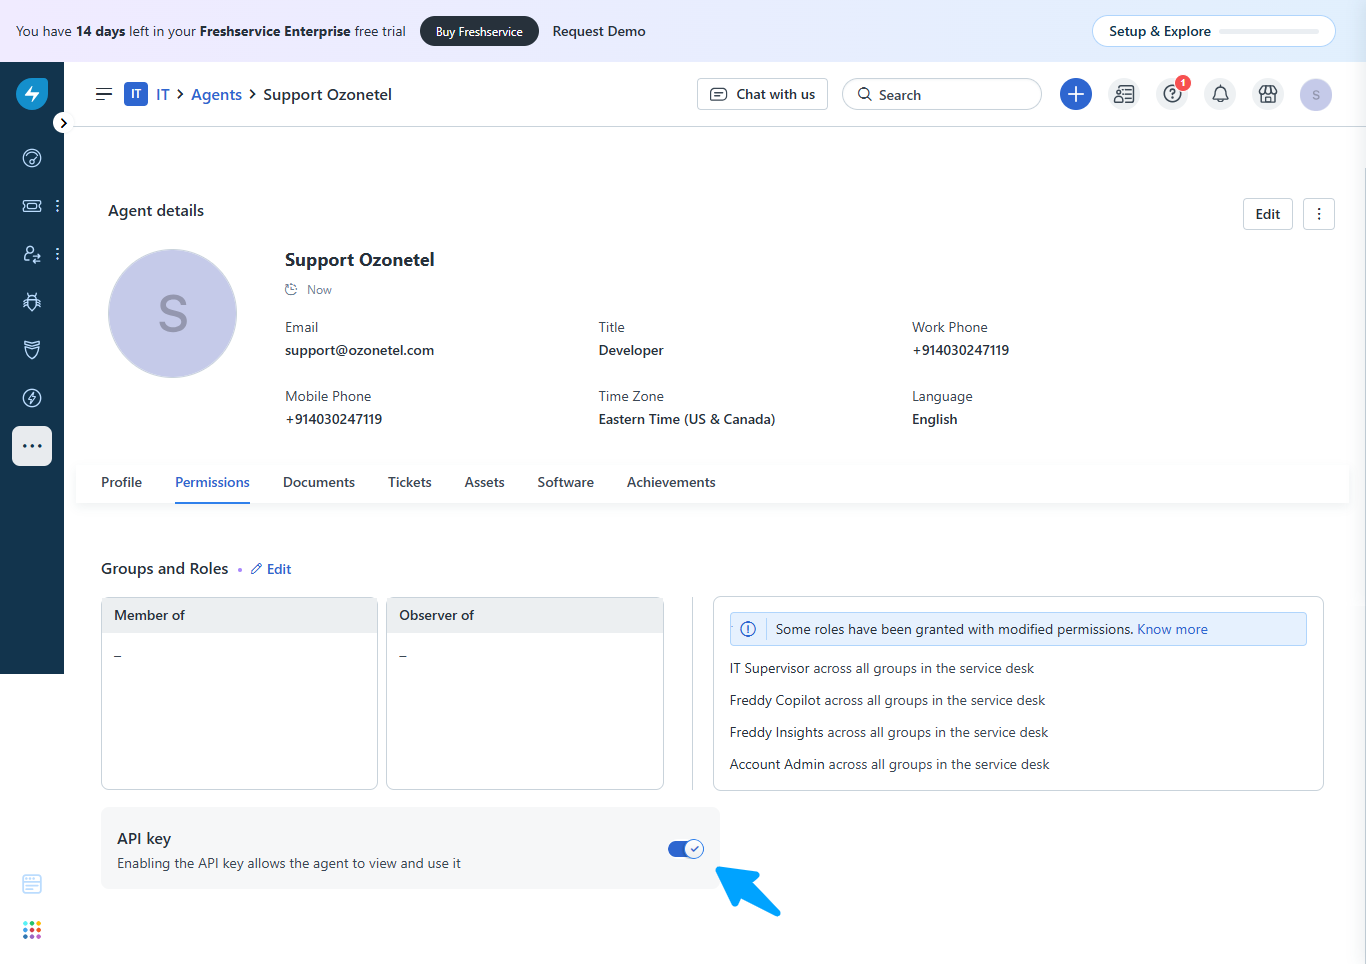
The API key can be found on the Profile Settings page.
-
If you want an agent to view the API key on the profile page, go to the Agents tab, select the desired agent, and in the Permissionssection, enable the option to allow the agent to view and use the API key.
-
- Configure FreshService Settings in CloudAgent
- Log in to your CloudAgent admin account.
- Navigate to Admin Settings -> Integration.
- You will see two settings for FreshService:
- FreshService Host: In this field, add your FreshService account domain name.
- Fresh Service API key: Add your FreshService account API Key.
Once these steps are completed, the CloudAgent toolbar will appear on your FreshService interface upon login.
Updated about 1 year ago